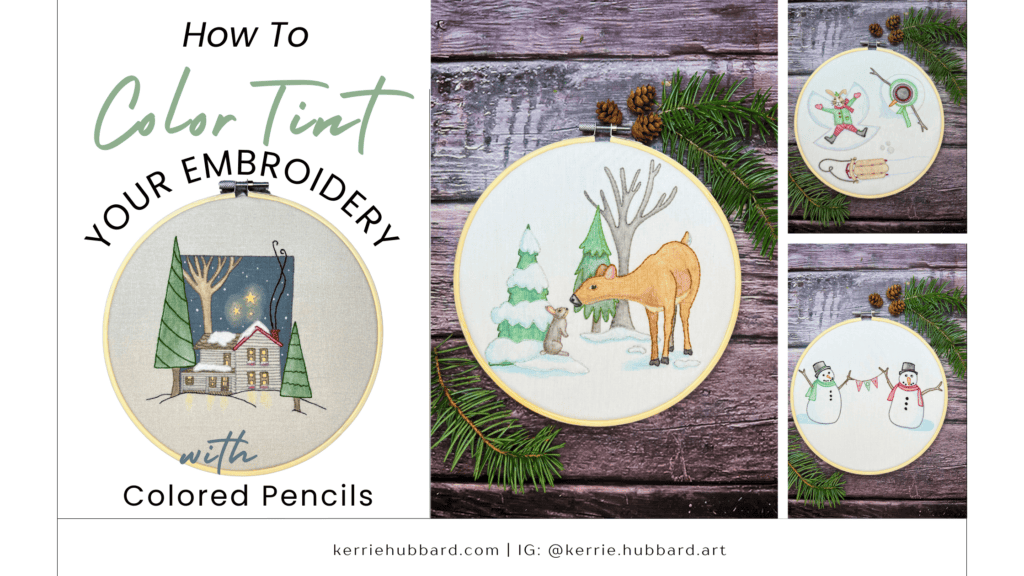
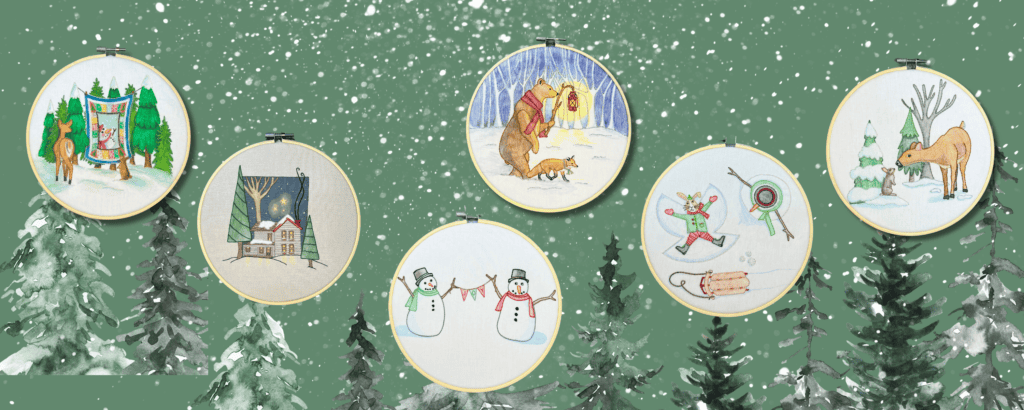
Yes, you can color tint embroidery with colored pencils! This fun, simple method gives your work a soft, hand-painted look and lets you personalize your project in a fresh, new way. Think of it as combining illustration and stitching—an easy way to elevate your embroidery designs with minimal effort.

Whether you’re a seasoned stitcher looking for a new twist or a beginner wanting to experiment with color without the hassle of switching threads, this method is quick, versatile, and rewarding!
What You’ll Need:
- Embroidery hoop
- Fabric with your design already stitched or drawn
- Colored pencils (quality is key—Prismacolor and Derwent Inktense pencils are favorites for their rich pigments and bendability)
- Hand-held pencil sharpener (go for a manual one, not electric)
- Two pieces of scrap fabric (ideally the same material as your embroidery project)
- Blending stumps (or Q-Tips if you’re in a pinch)
- Jacquard Textile Paint (optional but highly recommended for setting colors)
- Freezer paper (if using textile paint)
- Sewing pins (if using textile paint)
- Small paintbrush (for textile paint)
- Container for water (for textile paint)
- Iron
Step-by-Step: How to Tint Your Embroidery with Colored Pencils
Step 1: Prepare Your Fabric and Design
If your design isn’t already stitched, add your pattern to the fabric, ensuring you use a waterproof pen so the ink doesn’t bleed when you start coloring.
Step 2: Lightly Color Inside the Lines
Place your fabric on a flat, smooth surface (any bumps will show through!). Using light, circular strokes, start gently coloring inside the stitched areas. Begin with a light hand—you can always add more color but taking it away is much harder!
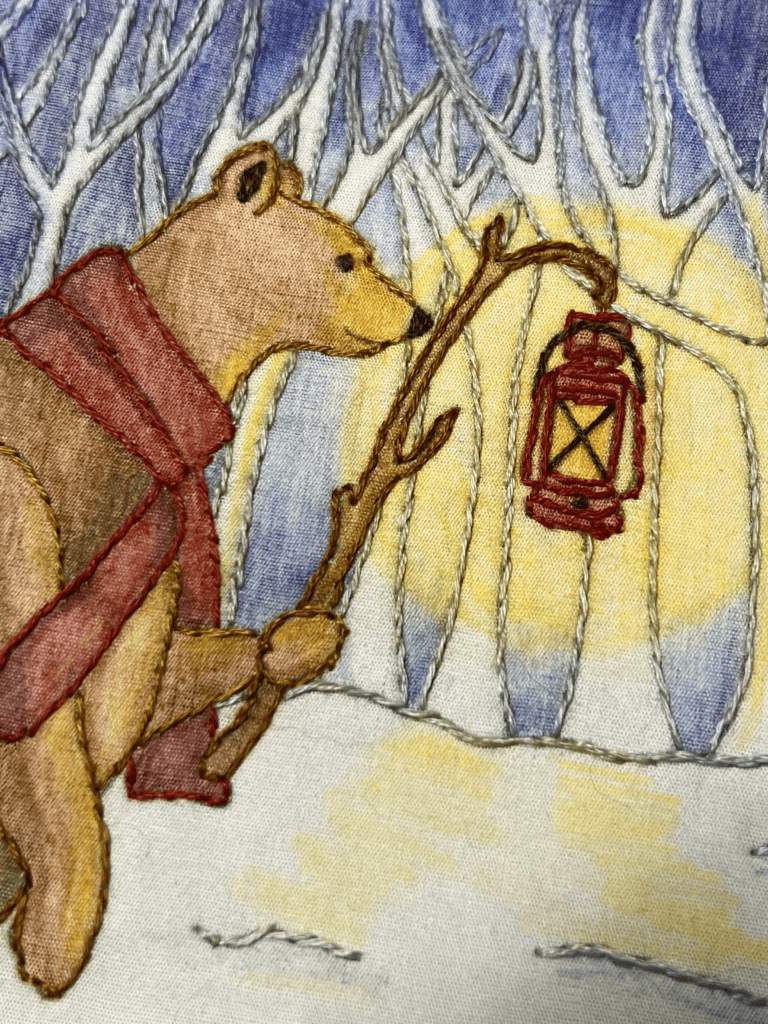
For a blended, layered look, start with a light base color, then gradually add darker shades where needed. For instance, when coloring a tree trunk, use a light brown on one side and blend it into a darker brown on the other to add depth and dimension. Always keep a scrap piece of fabric or paper handy to protect your hand from spreading the color around unintentionally.
Step 3: Blend It Out
To smooth out your pencil strokes and give your colors a more watercolor-like finish, use a blending stump or Q-Tip. Gently blend the colors until they flow seamlessly. Be sure to “clean” your blending tool by sanding off the color from previous areas to prevent unwanted color mixing.
Step 4: Seal the Color (Optional, But Recommended)
To keep your color vibrant and prevent it from smudging, apply a thin layer of fabric medium or textile medium over the colored areas.
Pin your fabric to a piece of freezer paper to avoid accidental smudging from any color bleed-through.
Use a small paintbrush to lightly dab on the fabric medium—this sets the pigment into the fabric and keeps it from fading over time.
Once it’s dry, iron over the fabric for about 10 seconds (keep the iron moving) to fully set the color.
This step helps preserve your work, especially if it’s something that may get handled frequently or displayed in a high-touch area.

Step 5: Stitch Your Project
With your tinting done, stitch your project as usual! Now you’ve added not only your beautiful stitches but also soft, colorful shading that brings the whole piece to life.
Tips & Tricks for a Pro Finish:
- Start Light: Build up the color gradually. It’s easier to add than to take away! Begin with lighter shades and move to darker ones.
- Test First: Always test your pencils and blending techniques on a scrap piece of fabric before diving into your main project.
- Blunt Pencils Work Best: A slightly blunt pencil gives smoother, softer results than a sharp point, which can create harsh lines.
- Experiment with Shadows: Lightly shading around your stitches can create a beautiful, subtle shadow effect that adds extra depth and texture.
- Add a Little Sparkle: Try using metallic or iridescent pencils for a touch of shimmer that’s hard to achieve with thread alone.
Tinting your embroidery with colored pencils is a unique and simple way to make your projects stand out. It’s a fun and creative way to enhance your designs, adding depth and softness that can’t be achieved with thread alone. Plus, you get to combine two hobbies—drawing and stitching—in a way that’s both relaxing and rewarding.
Give it a try on your next project, and I guarantee you’ll fall in love with the extra flair this technique brings to your embroidery. Happy stitching and coloring!
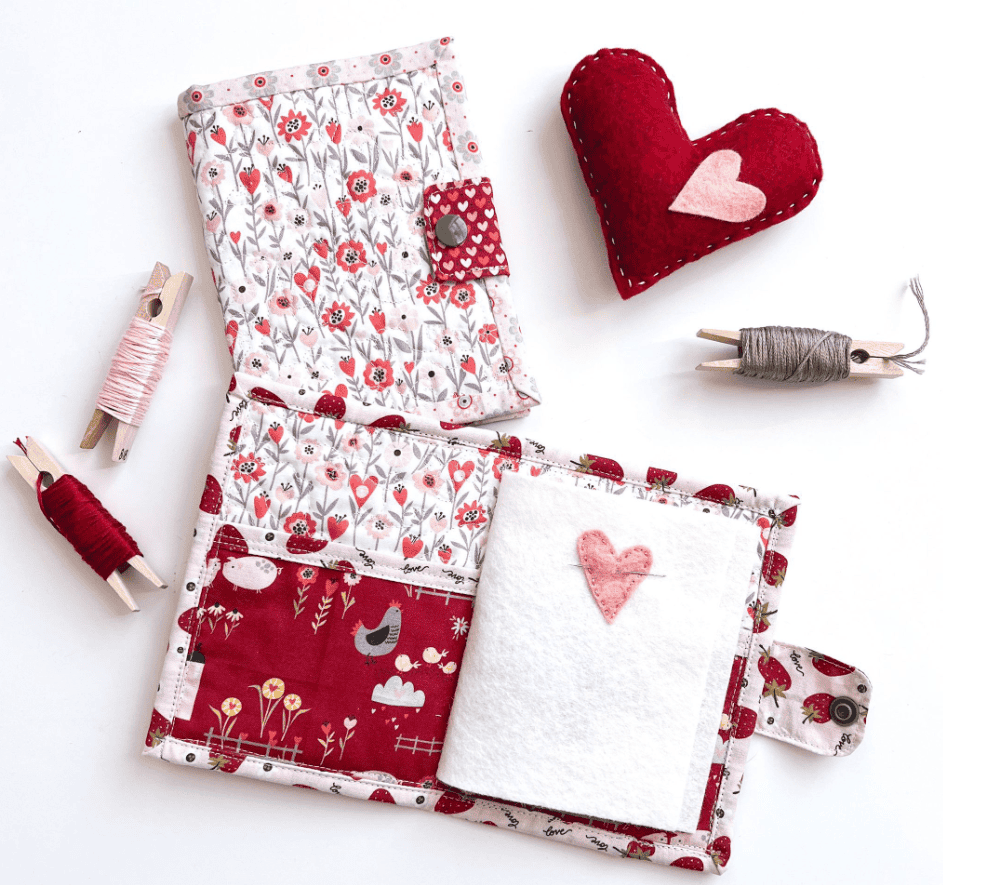
PS Want to make a super cute needle book to carry around your thread and needles for your embroidery projects? My friend, Amy over at Ameroonie Designs has a free pattern. And it’s super adorable. You’re gonna want to make one! Grab it here.

Affiliate Disclaimer:
This post may contain affiliate links. That means if you click on one of the links and make a purchase, I may earn a small commission (at no extra cost to you!). I only recommend products I personally use and love, and any commissions help keep this blog up and running. Thanks so much for your support! 😊
